<body><script type="text/javascript"> function setAttributeOnload(object, attribute, val) { if(window.addEventListener) { window.addEventListener('load', function(){ object[attribute] = val; }, false); } else { window.attachEvent('onload', function(){ object[attribute] = val; }); } } </script> <div id="navbar-iframe-container"></div> <script type="text/javascript" src="https://apis.google.com/js/platform.js"></script> <script type="text/javascript"> gapi.load("gapi.iframes:gapi.iframes.style.bubble", function() { if (gapi.iframes && gapi.iframes.getContext) { gapi.iframes.getContext().openChild({ url: 'https://www.blogger.com/navbar/11442522?origin\x3dhttp://cartergardening.blogspot.com', where: document.getElementById("navbar-iframe-container"), id: "navbar-iframe", messageHandlersFilter: gapi.iframes.CROSS_ORIGIN_IFRAMES_FILTER, messageHandlers: { 'blogger-ping': function() {} } }); } }); </script>

Sunday, March 26, 2006

Building Natural Rock Planter

We completed Stage I of construction of a natural rock planter. This project will allow us to landscape the area beneath the martin house. Today we built a small retaining wall using native rocks to fill spaces between some of the existing rocks to create planting areas.


This section closest to the pole for the bird house is on the southern end of the planter. There soil will be deepest next to the rocks on the east side of the planter.
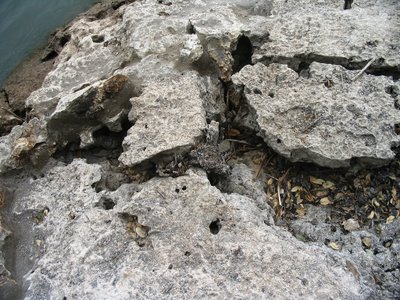


This section is in the center of the planter. There are several areas closest to the rocks where the soil will be very deep.
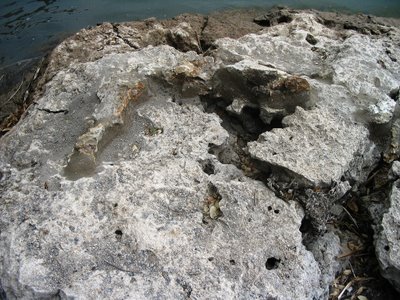


This section is on the northern end of the planter. The soil will be deepest next to the rocks on the east side of the planter.

For Stage II we will fill some of the larger cracks and crevices in the rocks with mortar mix. This will help unify Stage I construction with the existing rock and will help prevent erosion. We will complete the project by willing the planting areas with soil. These photos will serve as a reference showing the dept of the soil.

0 Comments:

Post a Comment

<< Home